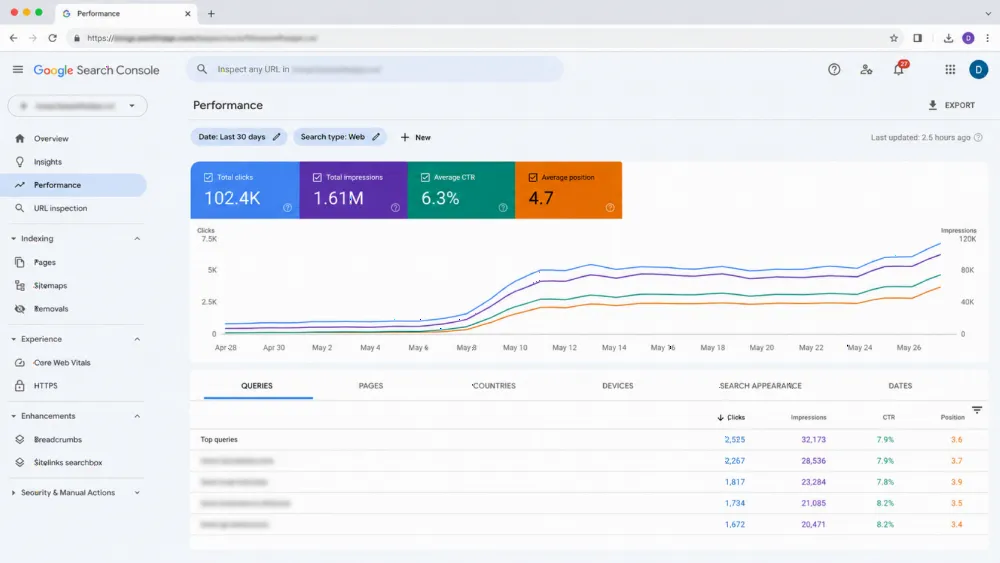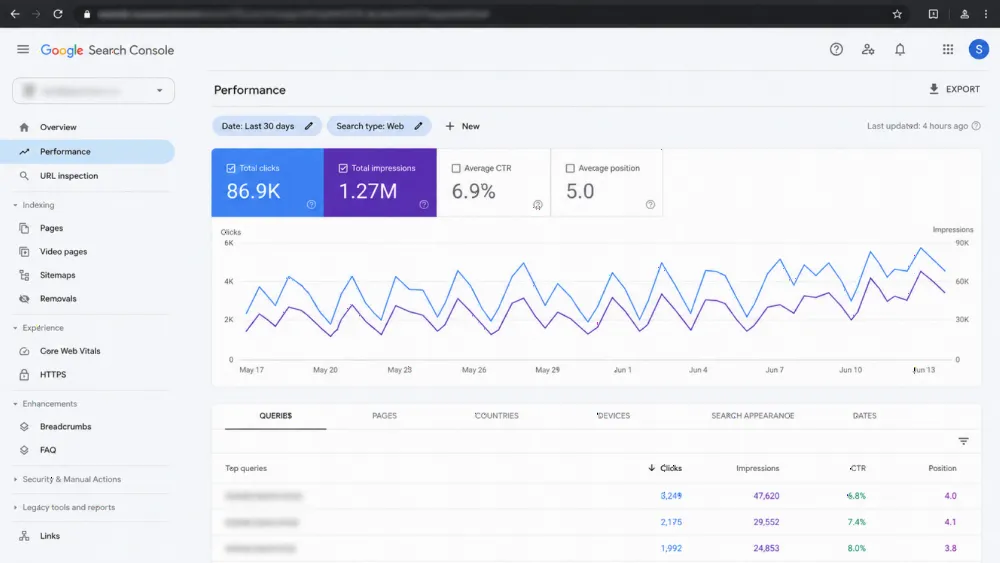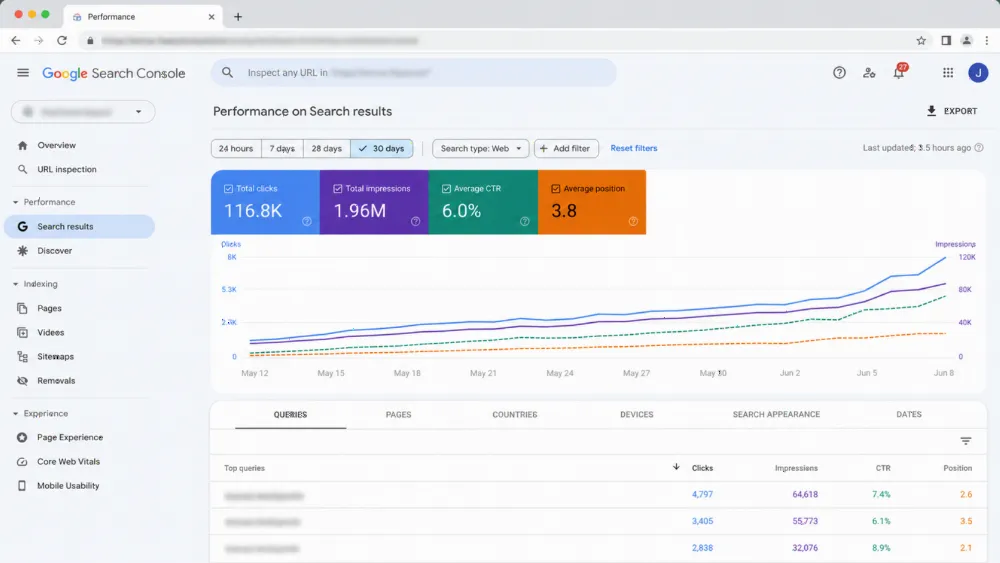
Can you redesign a website without losing rankings? Yes — when every old URL is mapped with 301 redirects, top content is preserved, and traffic is benchmarked before and after launch. Sites that skip this work typically lose 20–40% of organic traffic (Optimum7, 2026) (Optimum7 GlobeNewswire release, republished by MarTech Cube). The checklist below covers pre-launch, launch-day, and post-launch steps.
Protecting rankings during a rebuild? Get a technical SEO audit before you touch a line of code — it documents every URL, ranking, and backlink your redesign must preserve.
Why Do Website Redesigns Destroy Rankings?
A redesign does not hurt rankings because it looks different. It hurts rankings because search engines lose track of what your pages are and where they live. Google has spent years mapping your URL structure, learning which pages earn links, and measuring how users behave on them. When a new site launches with different URLs, thinner content, or slower pages, that accumulated trust stops flowing.
The damage shows up fast. Optimum7's 2026 study of 4,000 AI-generated answers on ecommerce replatforming (Optimum7 GlobeNewswire release, republished by MarTech Cube) found that poorly executed migrations typically cost businesses 20–40% of their organic traffic, with incomplete 301 redirect implementation named as the leading cause — raised in 92% of the answers analyzed. (globenewswire.com)
One cautionary case made the point painfully clear. In August 2026, WordPress SEO company Hog the Web documented a family-owned painting business that lost 97% of its organic traffic after a redesign by another provider — dropping from more than 300 organic visits per day to fewer than 10. The new site had replaced hundreds of blog articles and service pages with a six-page brochure, turning years of earned links into 404 errors. Hog the Web restored the valuable pages, repaired URLs and redirects, and traffic returned to roughly 300 visits per day within about a month. (lifestyle.newsblaze.in)
The takeaway: design is not the enemy of SEO — careless execution is. A redesign handled with SEO-friendly web development practices can actually improve rankings, because it fixes old technical debt. If your current site has never been checked against a full diagnostic, run through our SEO audit checklist covering 50 US-specific issues to find the debt you should clear during the rebuild.
How Should You Benchmark Your Site Before the Redesign?
You cannot protect what you never measured. Before any mockup is approved, freeze a complete snapshot of your site's current search performance. This benchmark becomes your post-launch scorecard — without it, you will not know whether a traffic dip is migration damage or a normal fluctuation.
Build your pre-redesign benchmark file:
- Full URL inventory. Crawl the entire live site with Screaming Frog, Sitebulb, or DeepCrawl. Export every indexable URL with its status code, title tag, H1, word count, and internal link count. Save it — this is your redirect source list.
- Traffic and ranking baselines. Export 12 months of Google Search Console data (clicks, impressions, average position per page and query) and Google Analytics 4 landing-page reports. Note seasonality so you do not mistake a normal dip for a migration failure.
- Backlink mapping. Pull your backlink profile from Ahrefs, Semrush, or Moz. Flag which pages attract the most referring domains — those pages must survive with equivalent content and direct 301 redirects.
- Core Web Vitals snapshot. Record LCP, INP, and CLS for your top 20 pages via PageSpeed Insights or CrUX data. Only about 48% of mobile sites passed all three Core Web Vitals (HTTP Archive) as of the HTTP Archive Web Almanac's July 2025 field data — so most redesigns have speed headroom to gain, not just preserve. (profiletree.com)
- Conversion baselines. Document conversion rate and revenue per top landing page. Rankings are the means; revenue is the goal.
Search is the channel you are defending. BrightEdge research has repeatedly found that organic search drives roughly 53% of all trackable website traffic (BrightEdge), and about 68% of online experiences begin with a search engine — so a redesign that breaks SEO breaks your primary acquisition channel. Store this benchmark where the whole project team can see it, and appoint one person as the migration owner accountable for the numbers after launch.
What Does a Complete Redesign SEO Migration Checklist Include?
This is the core of the work, organized the way we run it on client projects: before, during, and after launch.
Pre-launch: map, protect, and stage
- Create a 1:1 URL redirect map. Every indexed or backlinked URL on the old site gets a row in a spreadsheet with its destination on the new site. Aim for page-to-page relevance: a deleted service page should redirect to its closest surviving equivalent, never blindly to the homepage. Export this map from your crawl data, not from memory.
- Lock in content parity for VIP pages. Identify the pages driving the top 20% of organic traffic and conversions. Their primary keyword must stay in the title tag and H1, their content depth must not shrink, and they must sit no deeper in the site architecture than before. Flag any wireframe that buries a money page four clicks deep.
- Decide the pruning strategy. Not every page deserves migration. Sort thin, outdated, or zero-traffic pages into keep, improve, consolidate, or delete-and-redirect buckets. Consolidation kills keyword cannibalization — but each deleted page still needs a redirect to its merged successor.
- Write titles and metas before development. SEO copy should be finalized during design, not bolted on after staging. Duplicate title tags across template pages are a classic launch-day surprise.
- Build the new site on a staging server blocked from indexing. Password-protect staging or serve
noindexheaders. Accidentally indexed staging URLs create duplicate-content chaos that is painful to unwind. - Implement and test every redirect before DNS switches. Test the redirect map with a crawler against staging: confirm 301 (not 302) status codes, no chains longer than one hop, and no redirect loops.
Google's own site-move documentation sets expectations plainly: even a well-executed move can cause short-term ranking fluctuations while Google reprocesses URLs — which is why the redirect map must be complete on day one, not patched in week two. (developers.google.com)
For the broader diagnostic angle, our technical SEO playbook for US websites in 2026 covers the crawl, indexation, and rendering checks that belong in every staging QA pass.
Launch day: execute in sequence
- Launch during low-traffic hours and keep the old hosting live for at least 30 days as a fallback.
- Push the redirect map live first, then flip DNS — never the reverse.
- Verify robots.txt and XML sitemaps on the live domain immediately. New sitemaps should list only the new URLs; submit them in Search Console.
- Spot-check the top 50 VIP pages: correct status codes, canonical tags pointing to themselves, analytics firing, and no accidental
noindexcarried over from staging. - Monitor crawl errors in real time. Watch Search Console's Page indexing report and server logs for 404 spikes in the first 48 hours.
Post-launch: monitor for 90 days
- Daily (weeks 1–2): compare organic sessions and conversions against your benchmark; investigate any page whose traffic drops more than 20% week over week.
- Weekly (weeks 3–6): re-crawl the live site, fix redirect chains and newly discovered 404s, and confirm rankings for your top 50 keywords have stabilized.
- Monthly (months 2–3): refresh the XML sitemap, re-run Core Web Vitals, and update any external links you control (profiles, directories, partner sites) to point at new URLs.
If you want the operational, task-by-task version of this plan with owners and tools per phase, see our companion website redesign SEO migration checklist.
Which Migration Mistakes Cost the Most Traffic?
Most ranking losses trace back to a short list of avoidable errors. Watch for these five:
- Redirecting everything to the homepage. Bulk homepage redirects tell Google the old content no longer exists. They pass far less relevance than page-to-page 301s — and they frustrate users who land somewhere unexpected.
- Deleting content to "simplify" the site. The Hog the Web case above is the textbook example: collapsing hundreds of indexed articles into six brochure pages erased the site's topical authority. Simplify navigation, not indexable content.
- Launching with 302 temporary redirects. A 302 tells search engines the move might be reversed, so link equity transfers slowly or not at all. Use 301 permanent redirects for every URL change.
- Carrying staging blockers to production. A single leftover
Disallow: /in robots.txt or a global noindex tag can deindex an entire site overnight. This is a checklist item precisely because it happens constantly. - Changing URLs and content simultaneously without a control. If rankings fall and you changed both structure and copy, you cannot isolate the cause. Keep content stable through the URL migration, then optimize afterward.
Want the fixes sequenced by priority? Our SEO audit checklist with 40 fixes for US sites ranks issues by traffic impact so you can tackle the costliest ones first.
What If Rankings Drop After Launch Anyway?
A small dip in the first two to four weeks can be normal while Google reprocesses redirects and re-evaluates page quality. A drop beyond that — or one that deepens after week four — is a signal, not noise. Work this recovery sequence:
- Confirm the technical basics first. Re-crawl for redirect chains, 404s, canonical mismatches, and accidental noindex tags. In our experience, the majority of post-migration drops are one of these four.
- Compare page-by-page, not site-wide. Pull Search Console data for your VIP list and sort by largest impression loss. Fix the top losers individually: restore missing content sections, tighten title tags, and rebuild internal links pointing to them.
- Check that internal link equity still flows. Redesigns often orphan pages that used to sit in the old navigation or footer. Every VIP page should still be reachable within three clicks of the homepage.
- Rebuild what was lost. If thin replacement pages underperform their predecessors, restore the original depth — then improve it. Google rewards the comprehensive version.
- Escalate deliberately. If traffic has not recovered by week eight despite clean technicals, bring in a specialist before the losses compound. A focused technical SEO audit at that point is far cheaper than another quarter of depressed revenue.
Recovery timelines scale with the size of the mistake. The painting business in the Hog the Web case recovered in roughly a month because the fixes were surgical — restore valuable pages, repair redirects, preserve what worked. Sites that let broken migrations sit for six months face a much longer climb, because competitors fill the vacuum.
Frequently Asked Questions
Will a website redesign hurt my SEO rankings?
Not if the migration is handled correctly. Rankings drop when URLs change without 301 redirects, content is deleted, or pages get slower — not because the design is new. Map every old URL to a relevant new one, preserve your top-performing content, benchmark traffic beforehand, and monitor for 90 days after launch. Done right, a redesign often improves rankings by clearing old technical debt.
How much traffic can you lose from a bad website migration?
Poorly executed migrations typically cost 20–40% of organic traffic, per Optimum7's August 2026 analysis of 4,000 AI responses (Optimum7 GlobeNewswire release, republished by MarTech Cube) on replatforming projects. In extreme cases the loss is far worse: one small business lost 97% of its organic traffic after a redesign (Hog the Web PRUnderground press release via NewsBlaze) replaced hundreds of indexed pages with a six-page site. Complete redirect coverage is the single biggest controllable factor.
Should I use 301 or 302 redirects during a redesign?
Use 301 permanent redirects for every URL that moves. A 301 tells search engines the move is permanent and passes ranking signals to the new URL. A 302 temporary redirect signals the change may be reversed, so link equity transfers slowly or not at all. Audit your redirect map before launch to confirm every entry returns a 301 with no chains or loops.
How long does it take Google to process a site migration?
Expect ranking fluctuations for a few weeks while Google recrawls and reprocesses your URLs — Google's site-move documentation says this is normal. Most well-executed migrations stabilize within 4–8 weeks. If traffic has not recovered by week eight, treat it as a technical problem: re-crawl for redirect errors, check indexation, and compare VIP pages against your pre-launch benchmark.
Can I delete old pages during a website redesign?
You can, but never just delete them. Sort low-value pages into consolidate or delete-and-redirect buckets, and 301-redirect each removed URL to its closest surviving equivalent. Deleting pages without redirects creates 404s that waste crawl budget and strand backlinks. Never delete pages that earn significant traffic or backlinks — refresh and keep them.
Do I need to keep my old website after launching the new one?
Yes — keep the old hosting live for at least 30 days after launch as a rollback option. Also keep your pre-migration crawl exports, redirect map, and benchmark data indefinitely. If something breaks in week three, you need the old URL list to diagnose it. After 30 stable days, you can retire the old server.
Launching a redesign in the next 90 days? Talk to our team for a migration plan built around your rankings — or start with a technical SEO audit to document exactly what your new site must preserve.